The first class will leave you inspired and wishing for more time so this is the class for you! Refine what you learned in Enamel Basics I and explore many new possibilities by adding transparent enamels to your palette, special effects with glass shards and beads, and rubber stamp images. Continue investigating how firing time and temperature affect results and discover the quick beauty of liquid enamels. Students are encouraged to bring their own pre-cut copper shapes, stencils, rubber stamps, and lead-free enamels to experiment with in class. Prerequisite: Kiln Fire Enameling Basics I or equivalent.
Basic materials included

Necklace, Linnie Kendrick

Enamel, student work

Necklace, Linnie Kendrick

Necklace, Linnie Kendrick

Enamel

Earrings, Linnie Kendrick

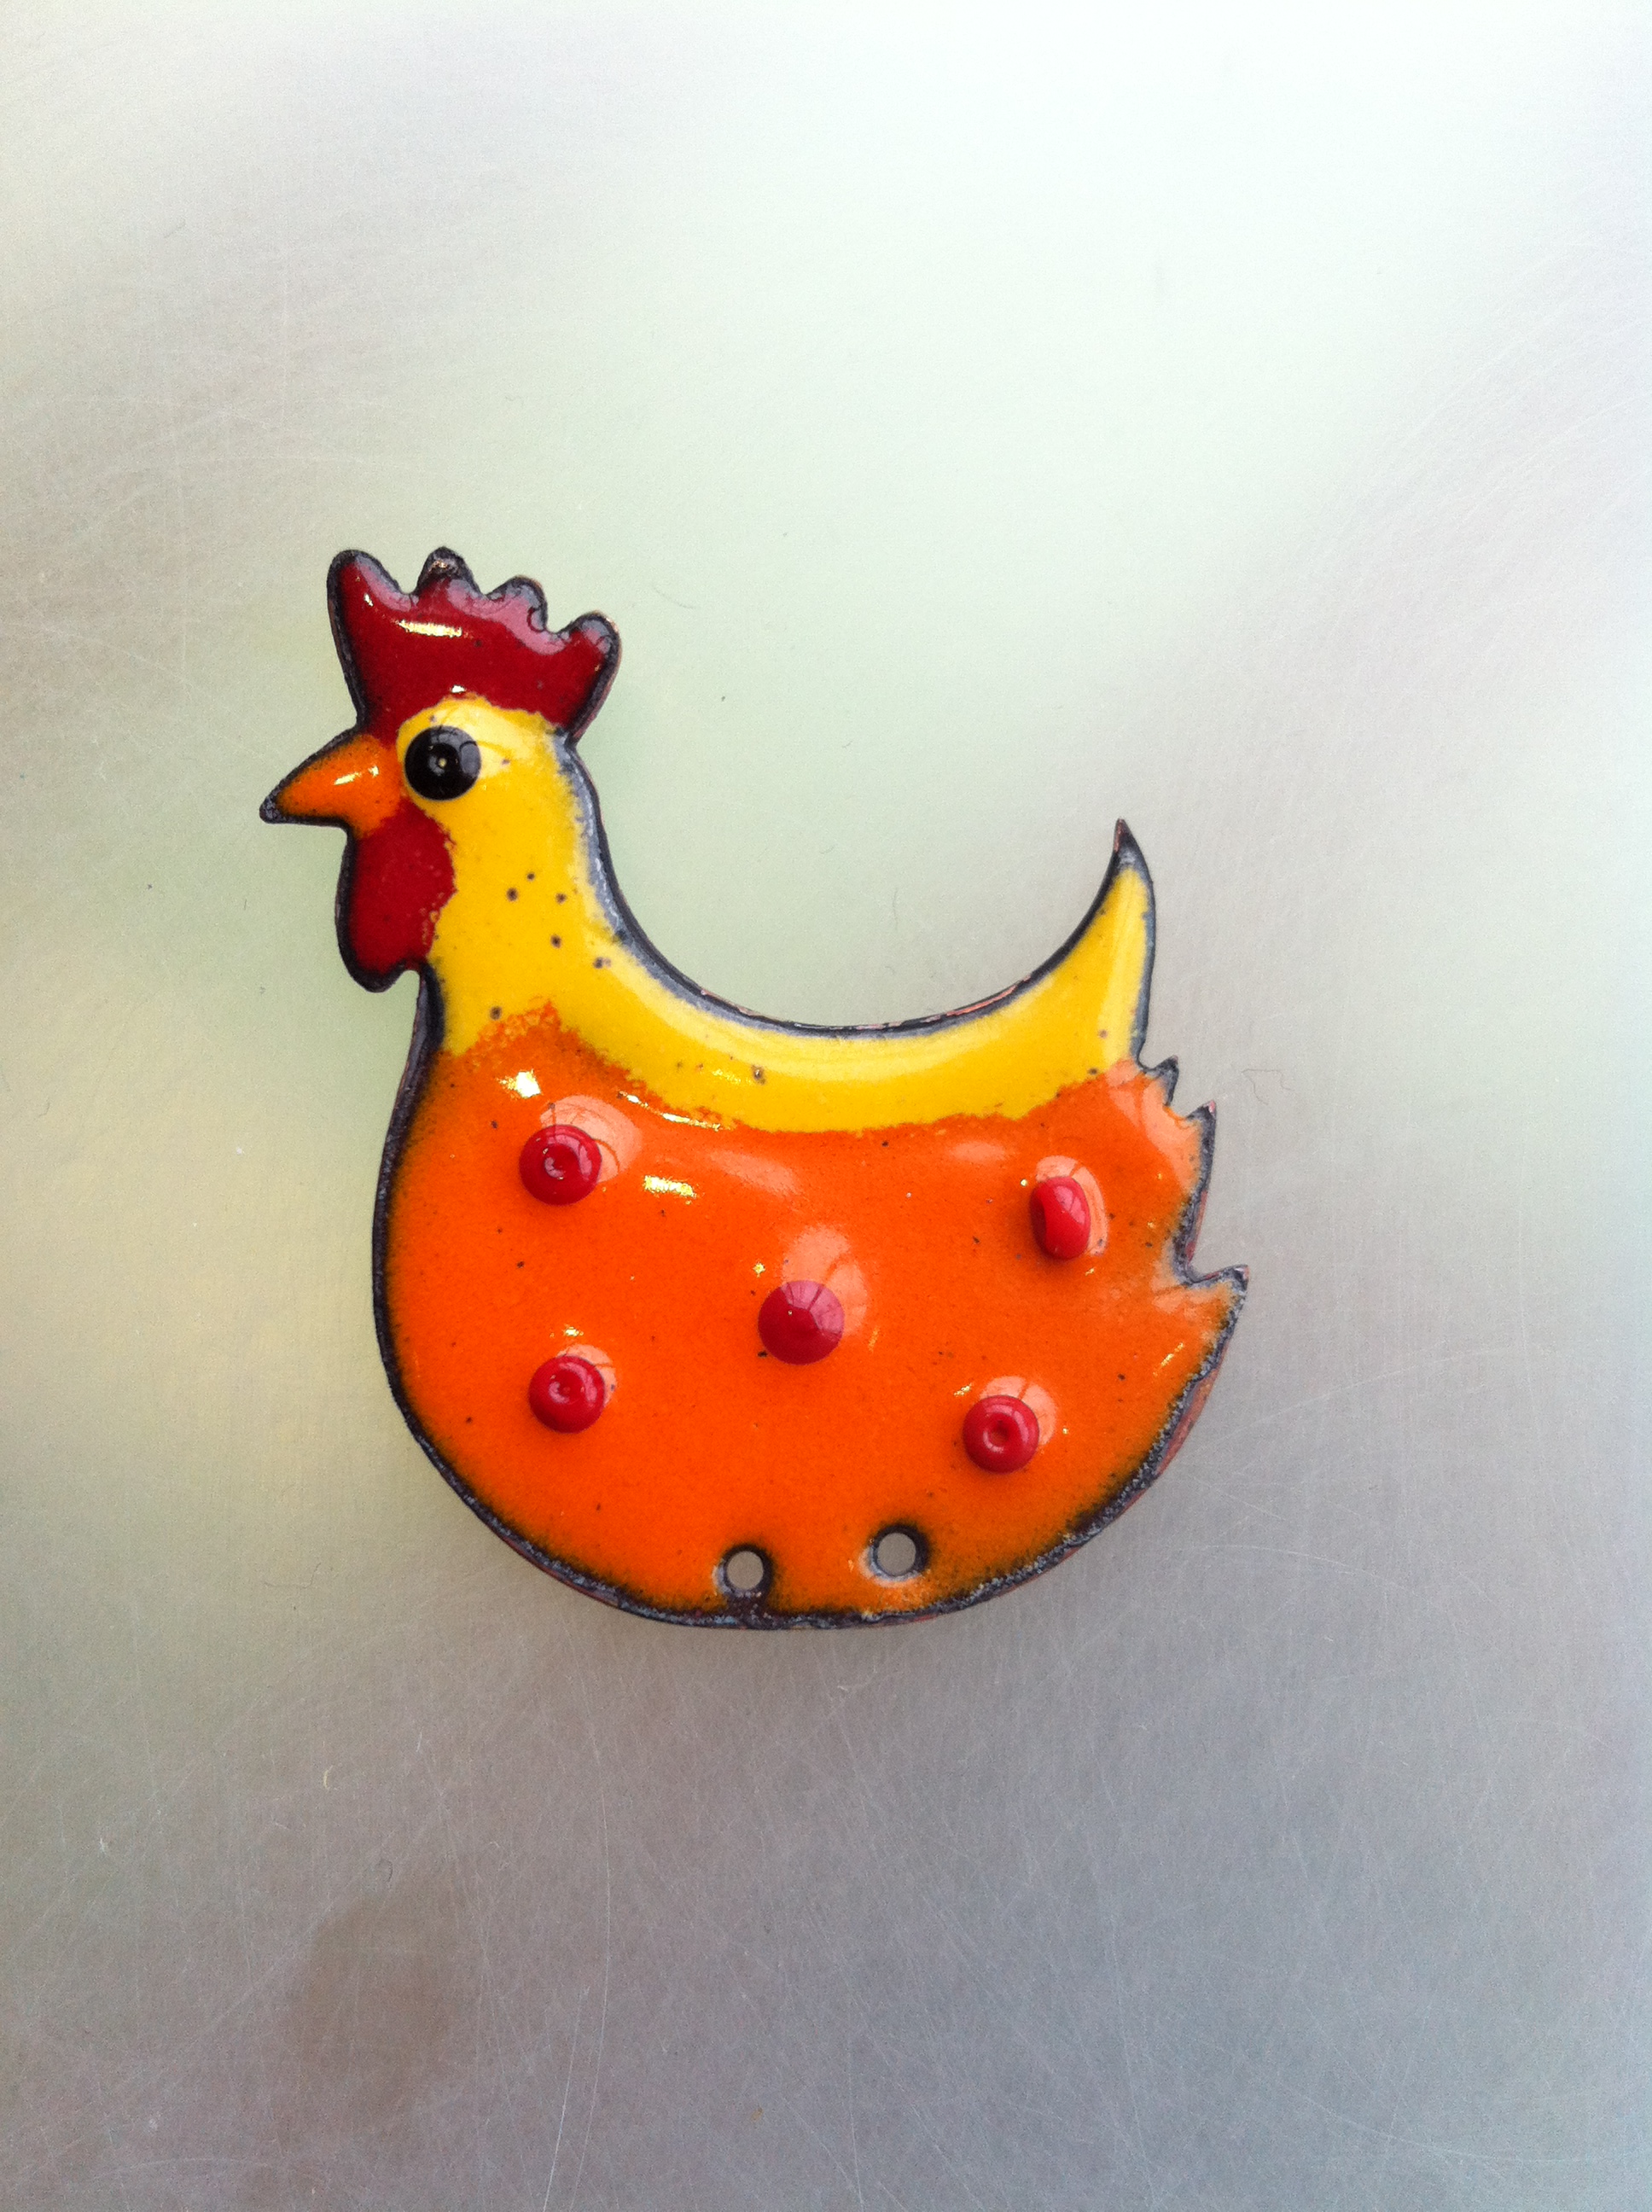
Enamel chicken

Enamel, student work

Necklace, Linnie Kendrick

Necklace, Linnie Kendrick

Enamel, student work

Enamel, student work

Enamel, student work

Enamel, student work

Enamel components, student work